Next.js 13에 Sanity Studio를 구축하는 방법
Next.js에 Sanity studio를 연동하고 블로그 시스템 구축 방법 소개
dukjjang •
2023년 2월 7일
Next.js
이 블로그는 Next.js 프레임워크와 Sanity를 이용하여 만들어졌다. sanity 공식문서에서 Sanity의 컨텐츠 에디터인 Studio에 대한 가이드와 스타터 킷을 제공하고 있어서 빠르게 에디터를 구축할 수 있다. 하지만 여기에 약간의 커스텀으로 next 프로젝트와 합쳐주면 훨씬 편리하게 사용이 가능하다. 새로운 sanity 프로젝트와 dateset을 만들고, 이를 next.js에 합쳐서 studio를 생성하고 접속하기까지의 과정들을 정리해보자.
Sanity 설치하기
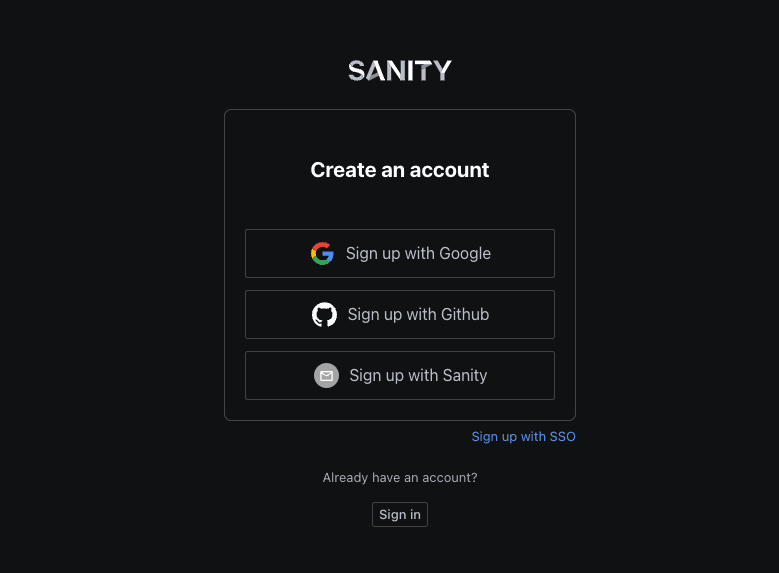
먼저 Sanity 사이트(https://www.sanity.io)에서 회원가입을 진행하고
다음으로 sanity를 설치해주자.
yarn create sanity@latest

npm create sanity
그러면 프로젝트 이름, 디폴트 데이터셋 사용 유무, 프로젝트 템플릿 사용, 타입스크립트 사용유무, 어떤 패키지 매니저를 사용하는지 등을 입력하게 된다. 나같은경우 디폴트 데이터셋을 사용하였고 project output path는 현재경로에 만들면된다. (어차피 우리는 next프로젝트로 옮길거기 때문에 ) 프로젝트 템플릿은 블로그로 만들어주었고, 타입스크립트를 사용하였고, 패키지매니저로는 yarn을 사용하였다.
Select project to use: Create new project
$ Your project name: dukjjang-blog
$ Use the default dataset configuration? Yes
$ Project output path: ~/Sites/my-blog/studio
$ Select project template: Blog (schema)
$ Do you want to use TypeScript? Yes
$ Package manager to use for installing dependencies? yarn
다음으로 next-sanity를 설치해야 한다. next-sanity는 sanity에서 제공하는 next.js에 필요한 툴킷 패키지이다. 설치해주자.
yarn add next-sanity @portabletext/react @sanity/image-url

npm install next-sanity @portabletext/react @sanity/image-url
next.js 프로젝트 생성 및 sanity.studio 통합하기
먼저 next.js로 프로젝트를 만들어 주자.
npx create-next-app
이제 아까 만든 sanity studio 프로젝트와 지금 만든 next프로젝트를 통합해야 한다. sanity studio 프로젝트에 있는 pakage.json을 열어서 dependencies에 있는 @sanity/vision , sanity와 davDependencies에 있는 @sanity/eslint-config-studio를 Next.js 프로젝트의 pakage.json에 옮겨주면 된다.
"dependencies": {
    "@sanity/vision": "^3.0.0", // <- copy
    "react": "^18.2.0",
    "react-dom": "^18.2.0",
    "react-is": "^18.2.0",
    "sanity": "^3.0.0", // <- copy
    "styled-components": "^5.2.0" // <- copy
  },
  "devDependencies": {
    "@sanity/eslint-config-studio": "^2.0.1", // <- copy
    "eslint": "^8.6.0",
    "prettier": "^2.8.3",
    "typescript": "^4.0.0"
  },
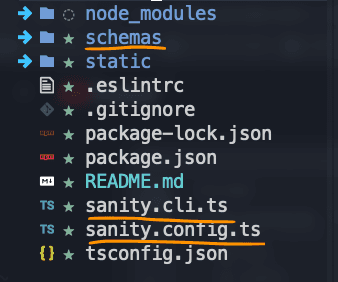
다음으로 sanity 프로젝트에 있는 schemas폴더와, sanity.cli.ts, sanity.config.ts 파일도 next.js프로젝트 폴더로 옮겨준다.(최상위에)
그런다음 next.js 프로젝트에서 옮겨온 패키지를 인스톨 해준다.
yarn

or

npm install
이제 studio가 next.js 프로젝트의 레퍼지토리로 모두 옮겨졌다.(studio 프로젝트 폴더는 삭제해도 좋다)
sanity.config, cli, 설정
이제 sanity.config.ts에서 다음과 같이 변경 해준다.
import { defineConfig } from "sanity";
import { deskTool } from "sanity/desk";
import { visionTool } from "@sanity/vision";
import { schemaTypes } from "./schemas";

const projectId = process.env.NEXT_PUBLIC_SANITY_PROJECT_ID!;
const dataset = process.env.NEXT_PUBLIC_SANITY_DATASET!;

export default defineConfig({
  basePath: "/studio",
  name: "sanity-tutorial",
  title: "sanity-tutorial",
  projectId,
  dataset,

  plugins: [
    deskTool(),
    visionTool(),
  ],

  schema: {
    types: schemaTypes,
  },
});
env 설정은 원래 sanity.config.ts에 생성되어 있던 project ID와 dataset을 그대로 환경변수로 설정해주면 되고, basePath가 studio에 접속하는 주소가 된다.
다음으로 sanity.cli.ts파일도 다음과 같이 설정해 준다.
import { defineCliConfig } from "sanity/cli";

const projectId = process.env.NEXT_PUBLICK_SANITY_PROJECT_ID!;
const dataset = process.env.NEXT_PUBLICK_SANITY_DATASET!;

export default defineCliConfig({
  api: {
    projectId,
    dataset,
  },
});
스튜디오 페이지 생성
이제 스튜디오에 대한 모든 작업은 끝났고 스튜디오 페이지를 만들어주면 된다.
13버전의 새로운 디렉토리인 app directory를 사용하는 경우 app 폴더에 studio 폴더를 생성한 뒤, [[...index]]/page.tsx 파일을 생성해주고 다음과 같이 작성해준다.
app/studio/[[...index]]/page.tsx:
'use client'

import {NextStudio} from 'next-sanity/studio'

import config from '../../../sanity.config'

export default function StudioPage() {

  return <NextStudio config={config} />
}
이전 page 디렉토리를 사용할 경우 /pages/studio/[[...index]].tsx: 경로에
다음과 같이 작성해 주면 된다.
import Head from 'next/head'
import {NextStudio} from 'next-sanity/studio'
import {NextStudioHead} from 'next-sanity/studio/head'

import config from '../../sanity.config'

export default function StudioPage() {
  return (
    <>
      <Head>
        <NextStudioHead />
      </Head>
      <NextStudio config={config} />
    </>
  )
}
스튜디오 들어가기
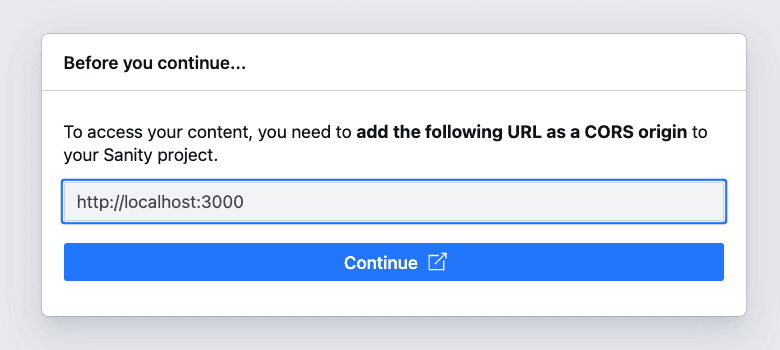
이제 마지막 한 단계가 남았다. npm dev, yarn dev를 통해 로컬서버를 열고 /studio에 들어가보면 CORS 설정이 필요하다는 문구를 만나게 된다.
당황하지 않고 sanity manage 사이트로 접속해준다. https://www.sanity.io/manage
그다음 API 탭에 가보면 cors 설정을 할 수 있는 탭이 있다. 여기서 http://localhost:3000을 등록해주면 된다. (추후에 배포하게 되면 배포주소도 추가해주면 된다.)
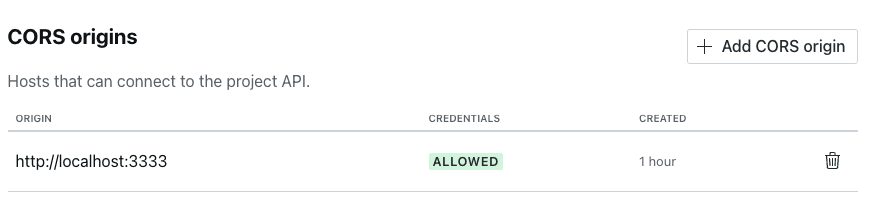
(Allow credentials 체크)
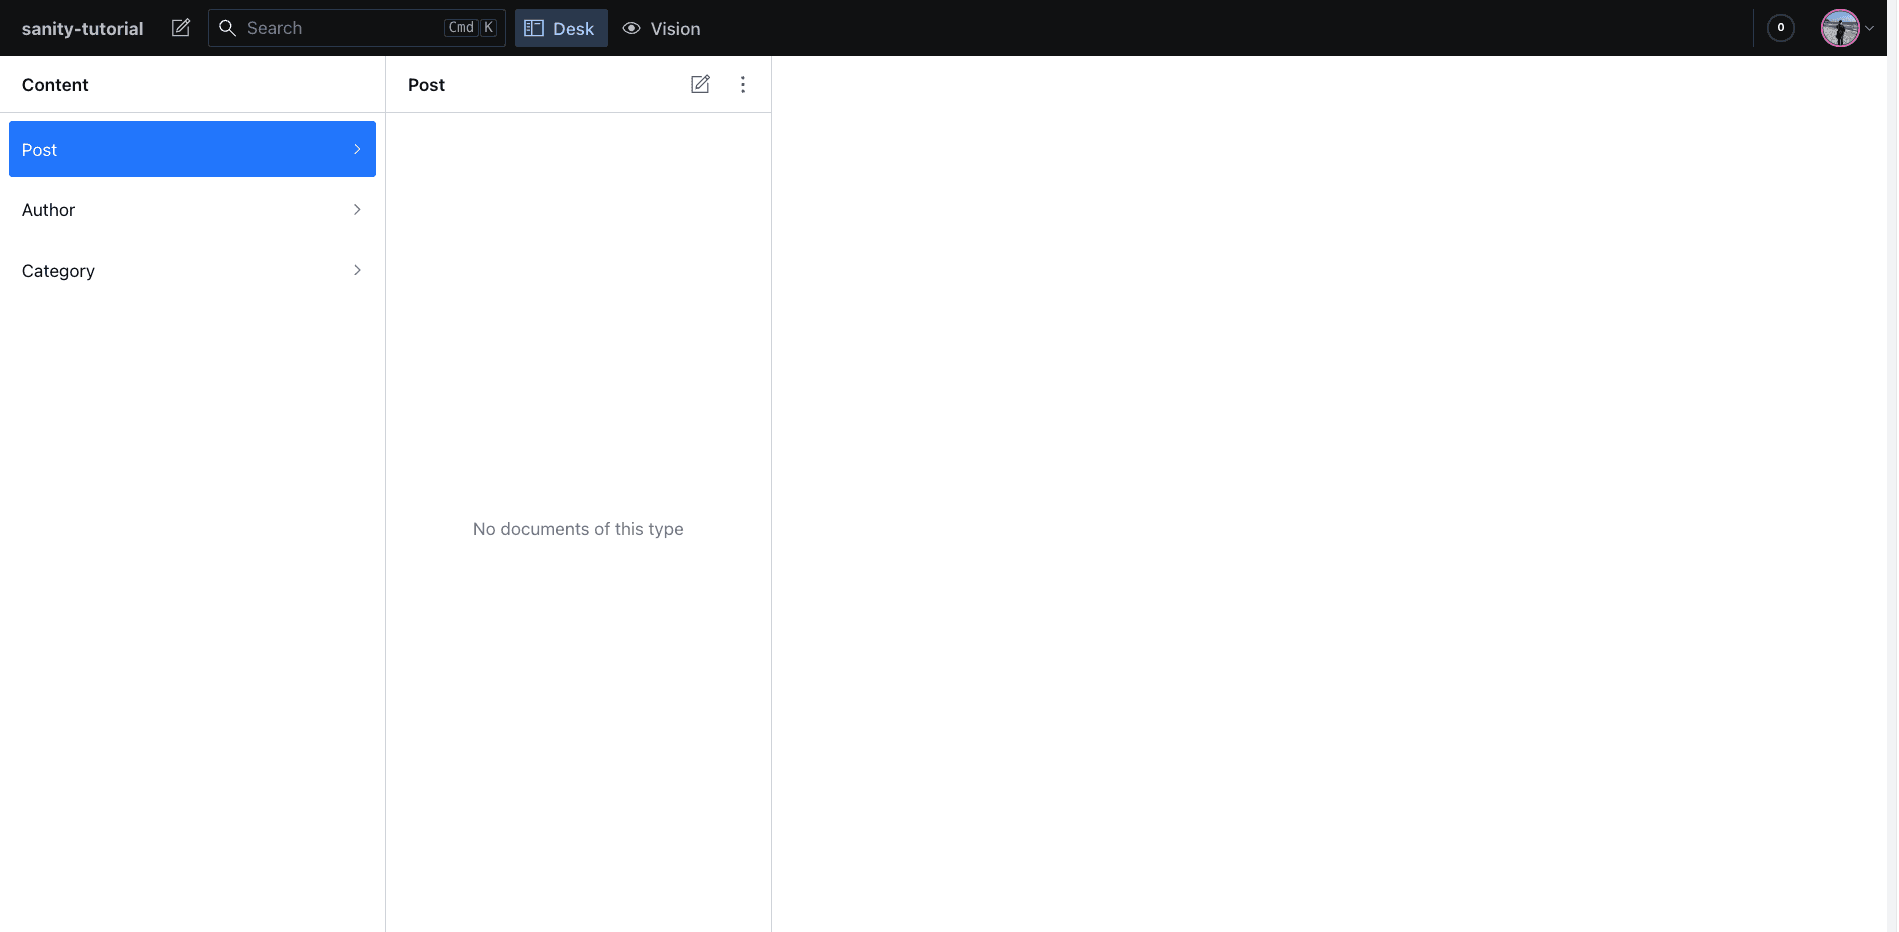
그러면 드디어 studio에 접속할 수 있게 된다. 😎 이제 마음껏 컨텐츠를 만들면 된다.